Blog Post — Tips and Tricks
October 2021
Understanding HDR tone-mapping
Blog Post — Tips and Tricks
October 2021
Understanding HDR tone-mapping
While HDR is the process that exploit the full dynamic range of a scene to avoid losing details, tone-mapping is a part of that process and consist in bringing the details out of the HDR image.
While HDR is the process that exploit the full dynamic range of a scene to avoid losing details, tone-mapping is a part of that process and consist in bringing the details out of the HDR image.
What is tone-mapping?
An image is composed of pixels and each of these pixels has a color, including black and white. Tone-mapping is a digital image processing technique used to modify the tonal values of pixels.
In other words, tone-mapping consists of adjusting the tonal values of an image with a high dynamic range so that it can be viewed on digital displays. It scales the dynamic range down while attempting to preserve the appearance of the original image. Tone-mapping is thus applied to HDR images to reveal their full details and give them a dynamic twist and a realistic look.
Tone-mapping is therefore an essential step of the HDR process to get the best presentation of your image, allowing you to adjust its luminance and color.
Local vs global operators
There are two types of tone-mapping algorithms:
Local operator
The local operators take note of the localization of each pixel in the image and process them accordingly. In other words, this method calculates the adaptation of the luminance for each pixel of the image according to its position. The image produced becomes more accessible to the human eye and has more details, but the processing time can be longer.
Global operator
In contrast, global operators map each pixel according to their global characteristics, independently of their localization. This method calculates a single matching luminance for the entire image. The processing is therefore faster, but the image produced will have less details.
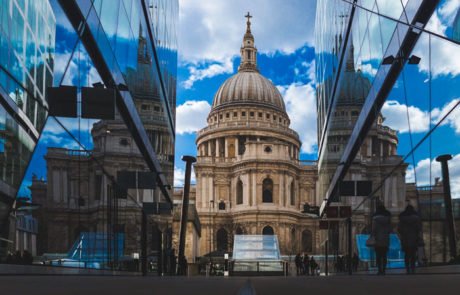
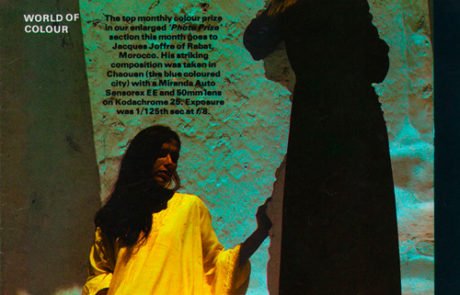
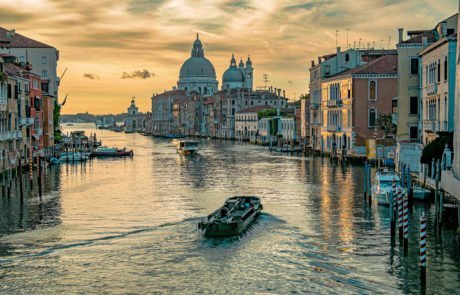
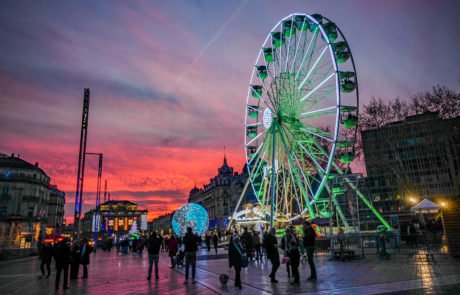
Many powerful image editors exist on the market that allow you to create stunning HDR images, using tone-mapping techniques. Yet, those editors only work with images of still subjects, such as architecture or landscape.
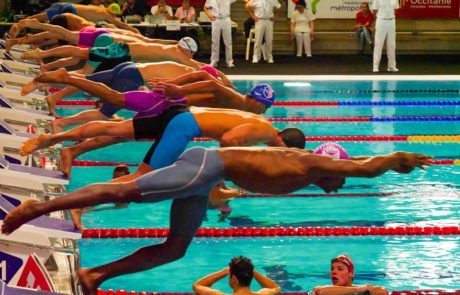
If you’d like to create still HDR images of moving subjects, give HDRinstant a try as it can help you achieve great results with minimal effort and in very little time.
Many powerful image editors exist on the market that allow you to create stunning HDR images, using tone-mapping techniques. Yet, those editors only work with images of still subjects, such as architecture or landscape.
If you’d like to create still HDR images of moving subjects, give HDRinstant a try as it can help you achieve great results with minimal effort and in very little time.
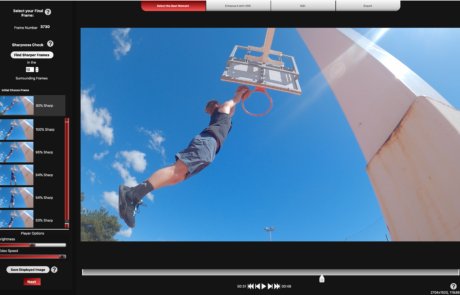
HDRinstant Tone-mapping and presets options
The standalone verion of HDRinstant provides a broad range of tone-mapping options and presets for you to apply a natural effect or seek creative interpretations of a scene with more vivid colours.
Tone-mapping options: professional control
With our tone-mapping options, take full control and finetune settings to achieve the precise results you demand.
- Select a tone-mapping from the drop-down menu.
- Make your own tone processing and sharpness adjustments.
- Click Reset to return to the original tone-mapping settings.
Presets: simplified process
Presets are custom filters, configured from our tone-mapping algorithms, to achieve a certain look of your photo.
With just one click, your photo can be altered in various pre-set alterations to exposure, contrast, shadows, vibrance and more.
- Click on a preset to select it. Under the Image Edition tab, the tone-mapping from which this preset was designed as well as its tone processing and sharpening settings will be displayed.
- If necessary, make manual adjustments using the sliders.
- Click on the preset to return to its original settings.
Browse our Blog